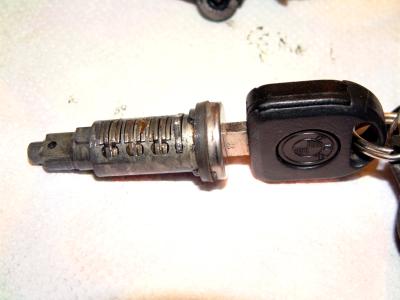
When the bracket holding the lock solenoid broke in my driver’s side door lock mechanism, the only solution was to replace the whole assembly. A replacement was obtained from a scrap yard and I just needed to exchange the lock barrels so that my existing key would still work. This repair procedure covers the removal of the barrel from the replacement lock.
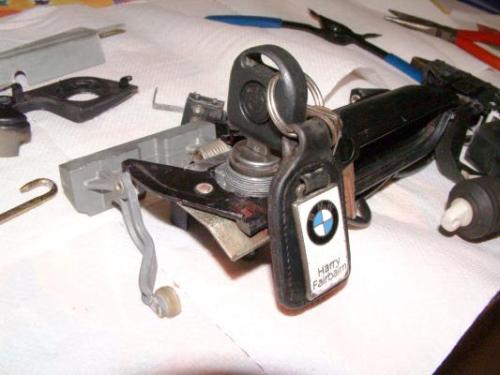
With the door handle removed from the car, remove the two bolts holding the metal plate in place and remove the plate.

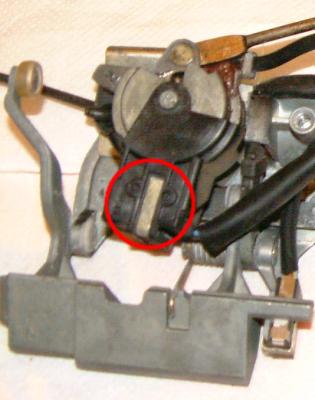
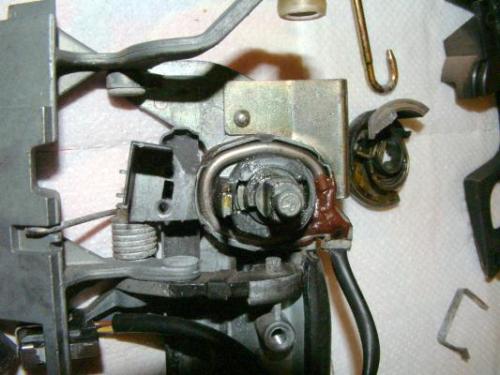
Remove the metal clip from the protective plastic cover over the lock switch and remove the cover.
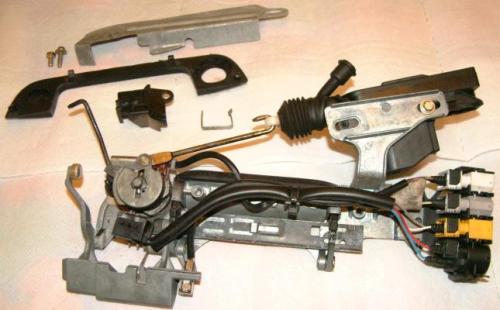
It should now look like this.
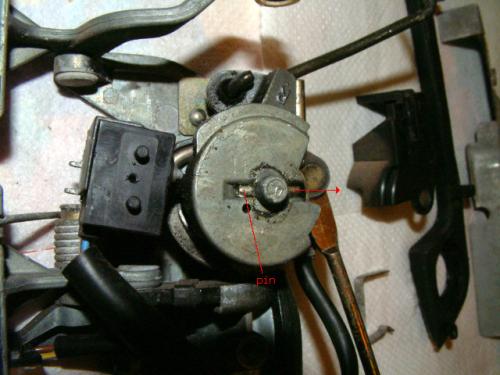
Drive the pin out of the end of the lock. You will need to push it as far as you can from one end, then grip it with pliers and pull it out the rest of the way.
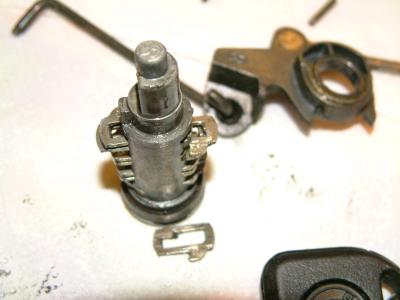
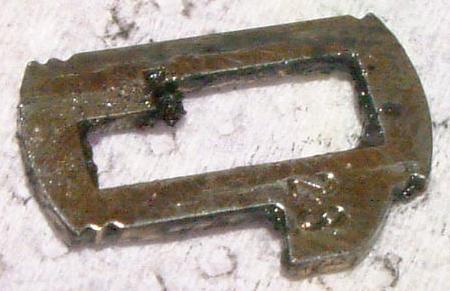
Remove the two parts from the end of the lock. The first one operates the 3 microswitches when you turn the key, the second is connected to the lock solenoid and the door latch mechanism. The first one contains a spring but it will remain in the part when you take it off if you are careful.
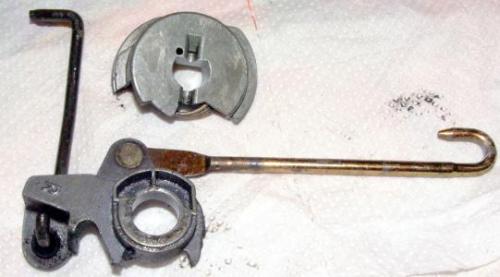
The lock barrel is now ready for removal. The thick metal oval ring around the lock is the lock heater element.
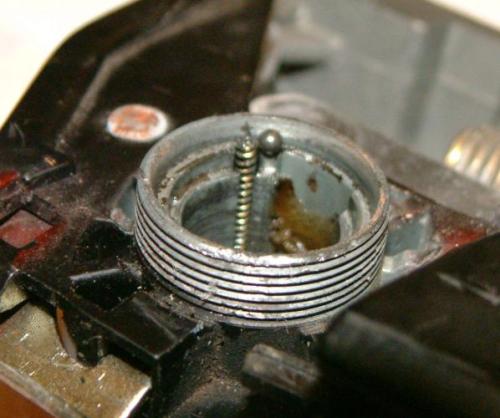
Turn the door handle over and insert the key. Pull it out again with the lock barrel still attached. Be careful, there’s a ball bearing and spring behind it…
Here’s a closeup of the ball bearing and spring. The ball bearing has been slightly displaced, it should of course be sat on the end of the spring.
Here’s a pic of the removed barrel. The 12 wafers will remain secure as long as the key is inserted. Remove the key carefully and wrap the barrel in sellotape or something to keep it all in one piece.
I removed one of the wafers so you could see it.
Here’s a closeup of the wafer. You will note it has a number stamped on it, each “depth” of wafer will have a different number. Also notice that each corner has been formed into slight “teeth”, this is to make the lock more resistant to lock picking. The step on the inside is the bit that rides on the key profile. If the profile is too shallow the wafer will not be pulled in enough to clear the groove on the inside of the cylinder. If the profile is too deep it will pull the wafer in so far that it sticks out the other side and binds on the opposite groove of the cylinder. The bit sticking out the side (where the number is stamped) sits over a hole containing a spring to keep the wafer sticking out until the right key is inserted.
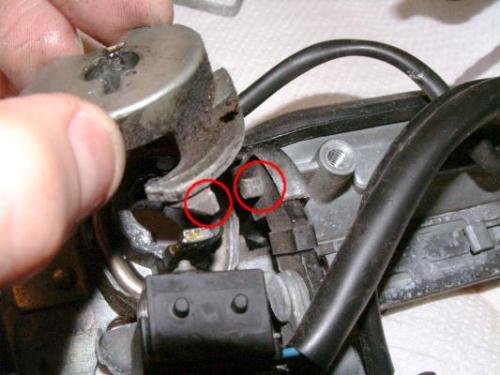
Finally a quick look at the mechanism for the “emergency unlock” procedure. You insert the key and turn it clockwise (right hand side door, or anticlockwise for the left hand door), the end stop for the turn occurs when a part of the microswitch actuator (first circle) hits a small post on the side of the door handle lever (second circle). If you lift the door handle the post moves out of the way and allows the key to turn further. You can see from the mechanism that there is no “magic art” to it, you turn it until it hits the stop, then lift the handle and turn it some more. You can lift the handle before you start if you like. I’ve read descriptions of the procedure which describe lifting the handle at exactly the right moment, or pulling it out a certain distance, but this is simply unnecessary. The mechanism is a lot simpler than people perceive. Oh, and both my left hand and right hand locks have the same mechanism so it should work on either.