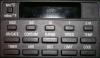
This story details the disassembly of the OBC.
 If you just want to change one of the bulbs then you don’t need to disassemble the obc as the bulbs can be removed by twisting them anticlockwise 90°. There are two bulbs for illuminating the display and one for illuminating the keyboard.
If you are having problems with your display and you think it might help to re-seat it, then this is the procedure.
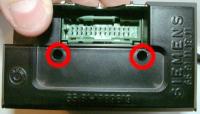
First, remove the two screws at the back of the unit, and prise off the front plate with the key names on it. The front plate is replaceable separately, as it is available in many different languages.
Next you need to unclip the front of the unit. The front is held on with four plastic clips, two on the top and two on the bottom. When the clips have been released with a screwdriver you will be able to pry the front part of the unit out slightly. It is still connected to the rest of the unit with three ribbon cables, so it won’t pull out very far.
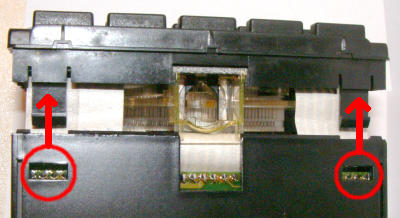
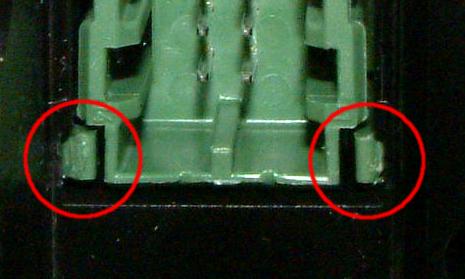
Now you need to push the rest of the circuit from the rear obc box, and to do that you need to pry the four small clips around the connector at the back while pushing on the connector. You have to push on each clip in turn while keeping the pressure on the connector, and eventually the circuit board will pop out. Make sure it doesn’t pop out onto the floor.
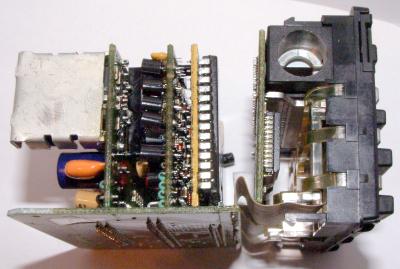
When the case comes off you will end up with something that looks like this. Be careful with the three ribbon cables going to the front panel. They feel quite strong but I wouldn’t go swinging it around the room to test the strength.
Now you need to unclip the LCD circuit board from the keyboard circuit board. The LCD module is held in place by four plastic clips which hold onto the metal bezel around the front of the LCD display. It helps a lot to first pry off the two black plastic supports around the LCD illumination bulbs. Remove the bulbs first.
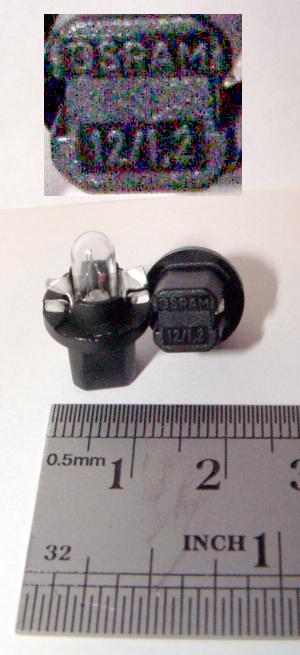
The bulbs are rated 12v/1.2W:
The bulb supports are held with two clips…
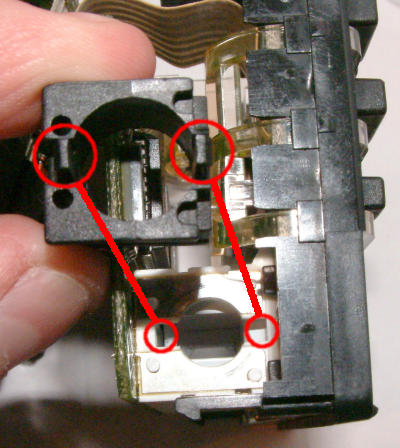
…but pry them out from the top
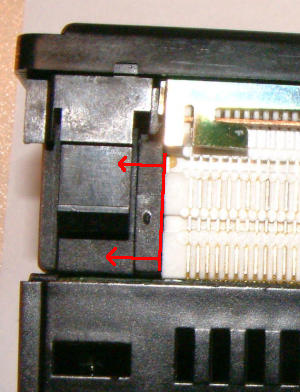
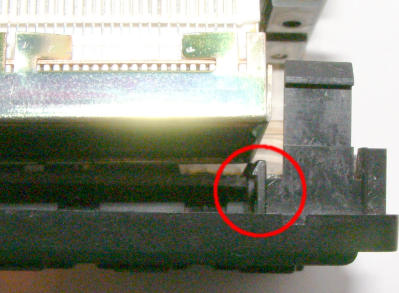
With the bulb surrounds out of the way you should find it easier to unclip the four clips from the LCD bezel. Here’s a picture of the clips.
When the clips are removed the whole LCD circuit board will swing out of the way like this.

The next step is to remove the bezel itself, and the LCD display. There are 8 metal tabs that need bending out of the way, four on each of the long sides. The bezel is made out of soft steel and the tabs are easy to bend with a small screwdriver.

With the tabs bent out of the way, carefully pry the bezel off, working a little at a time so it comes straight off rather than at an angle. The likelyhood is that the LCD display will come off with the bezel, although it is possible that it will stick to the connector instead.
The reason it will probably stick to the bezel is that the zebra strips which connect the display to the connector are made out of soft latex, and after the 10 years or so it has been in the car they will have moulded themselves to all the slight imperfections in the bezel. You will have to carefully work a knife blade between the bezel and the zebra strip to free them.
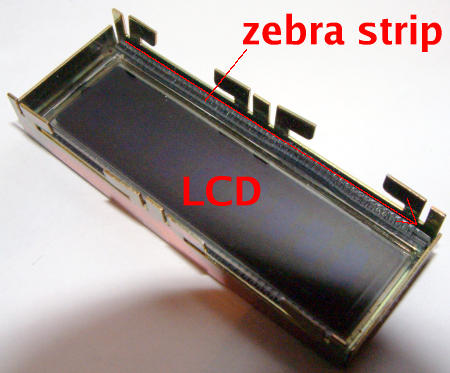
Once the zebra strips are separated from the bezel you will be able to carefully push out the LCD, with the zebra strips still attached. Don’t worry too much if the zebra strips fall off
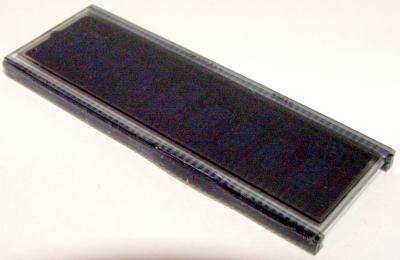
The LCD display finally removed, note zebra strips are still attached With the LCD removed from the bezel you have a good opportunity to give the front screen a really good clean with rubbing alchohol or other cleaning solvent. The next article will show you what you need to do if you want to change the backlight colour of your obc. The final article will conclude by reassembling it.