This is the first major bit of car DIY I’ve attempted since I bought the Lexus about 5 years ago. The illumination for both the driver’s and passenger’s temperature displays has failed, and it finally annoyed me enough to do something about it.
Before you start, disconnect the battery negative terminal.
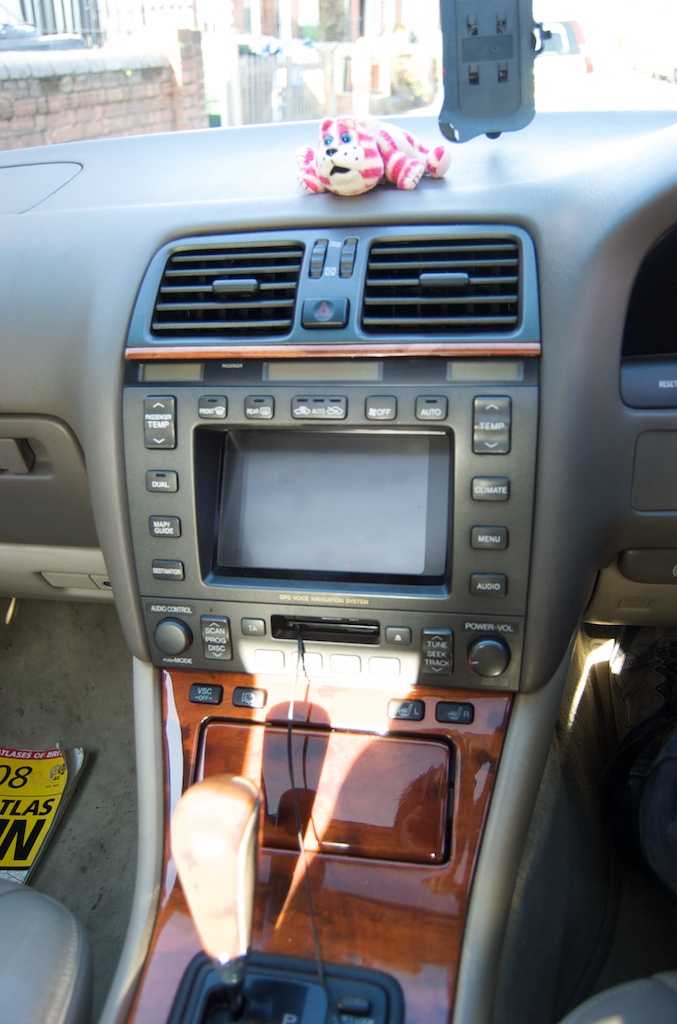 Bagpuss is watching you
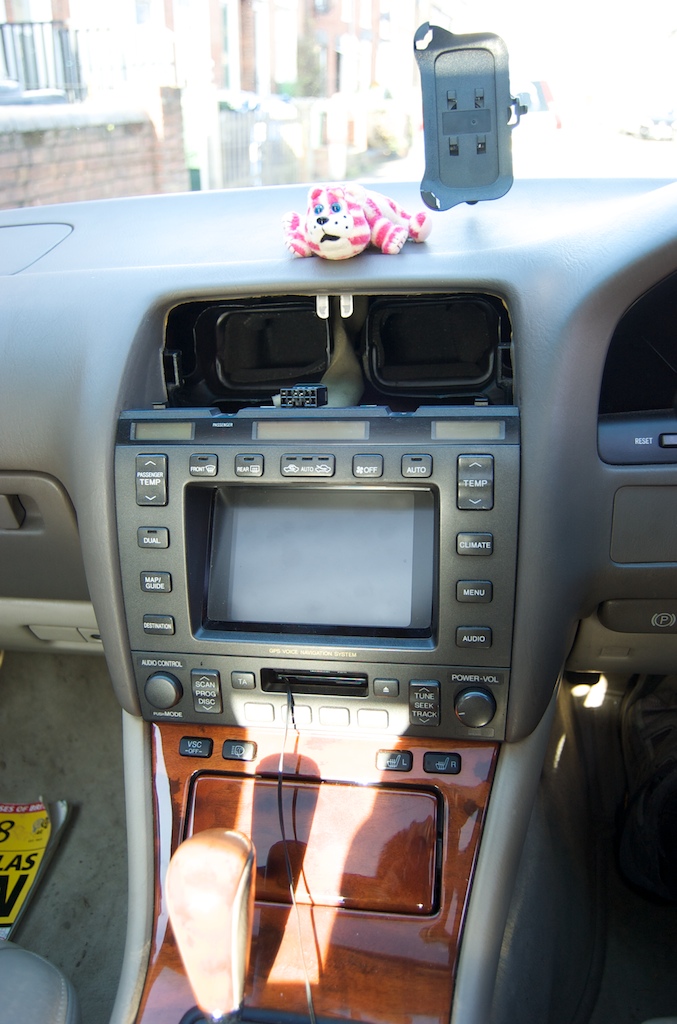
Next, remove the air vents at the top of the console. There is a clip on either side, you need to push a flat headed screwdriver in through the vent on each side to disengage the clips. I will take a photo of this at some point. Once you’ve pulled the vents out, disconnect the hazard warning light switch connection.
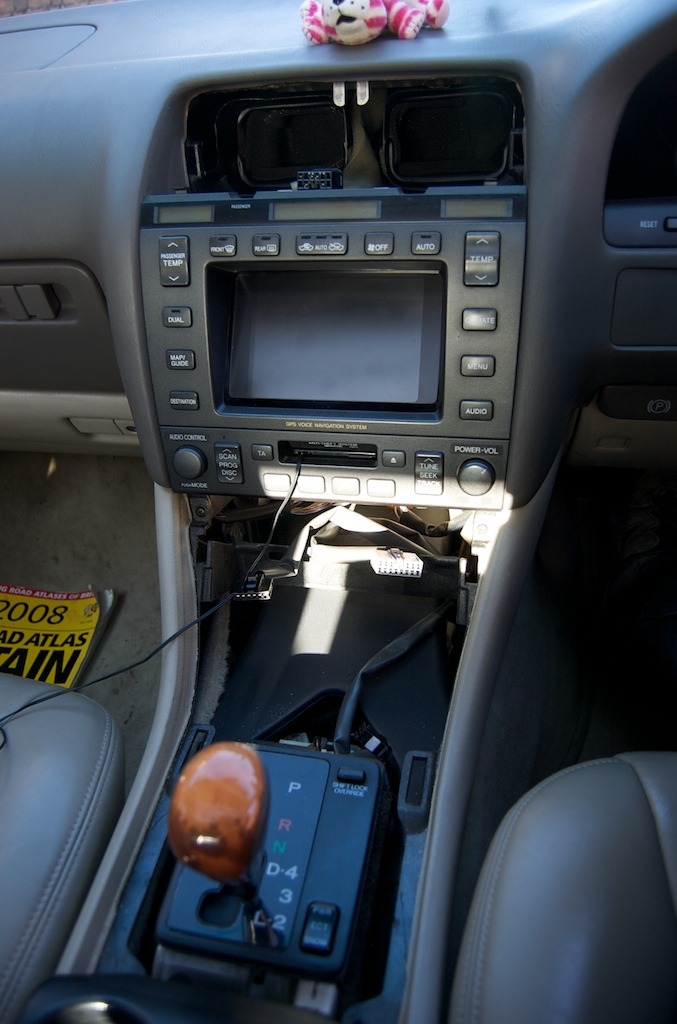
The gear lever surround has to go next. It’s held in by 6 clips, 3 down each side. Starting at the end nearest the cup holders, gently pry it up on each side. The next pair of clips are about level with the Park position of the gear lever. Pry it up carefully around there. Finally the last two are in the top corners. You can lift up the whole piece and wiggle it left and right to pop these. Move the gear lever out of the way (make sure the handbrake is on and press the override button), then unplug the pair of cables going to the switches.
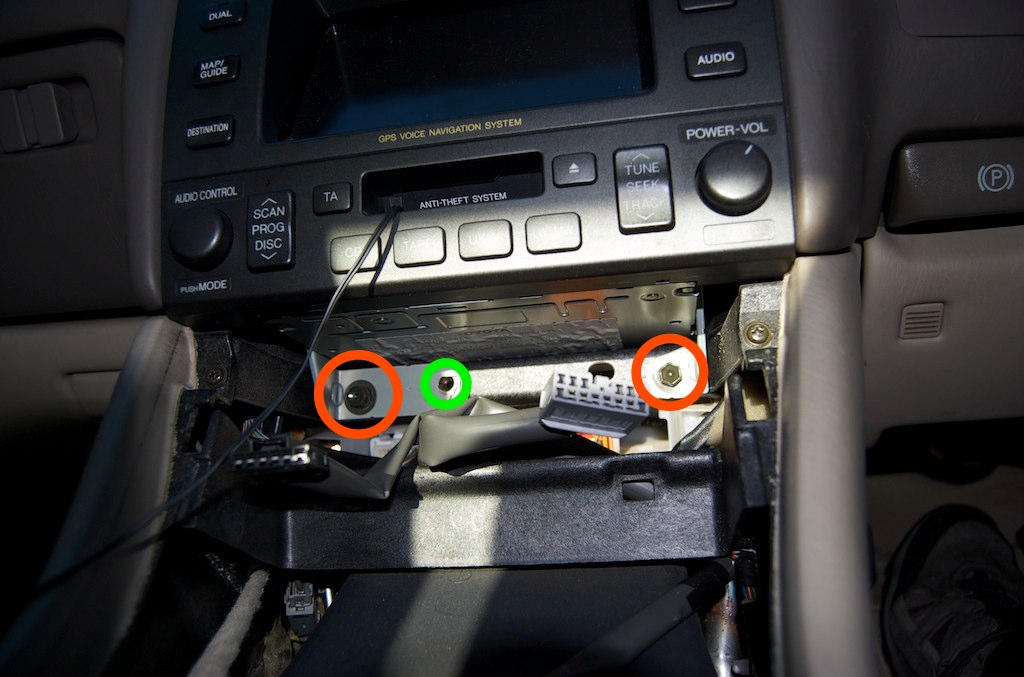
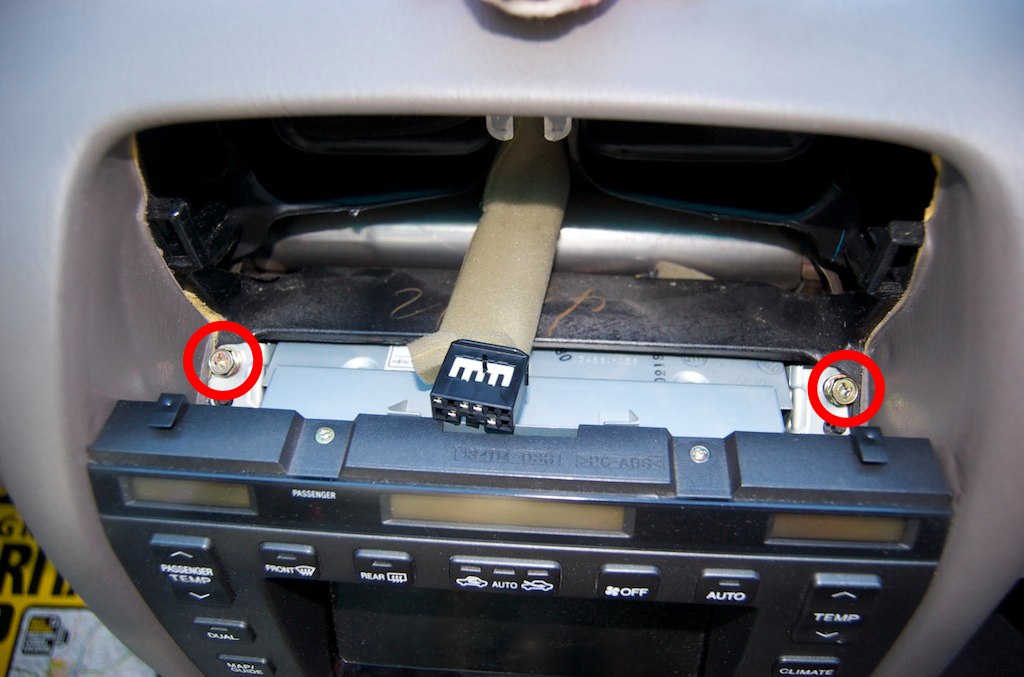
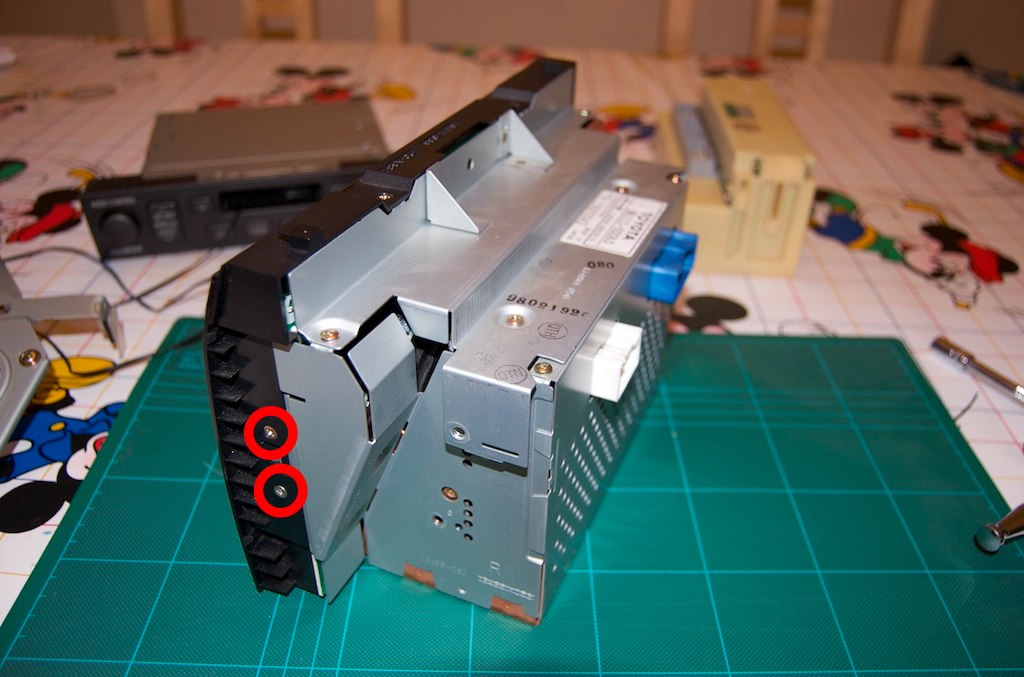
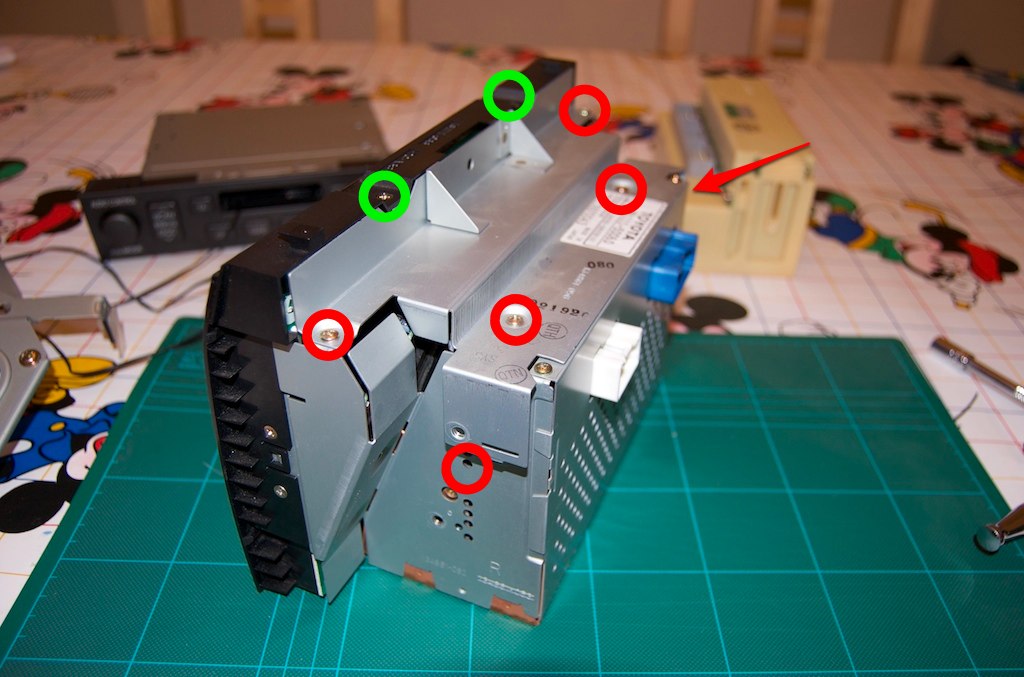
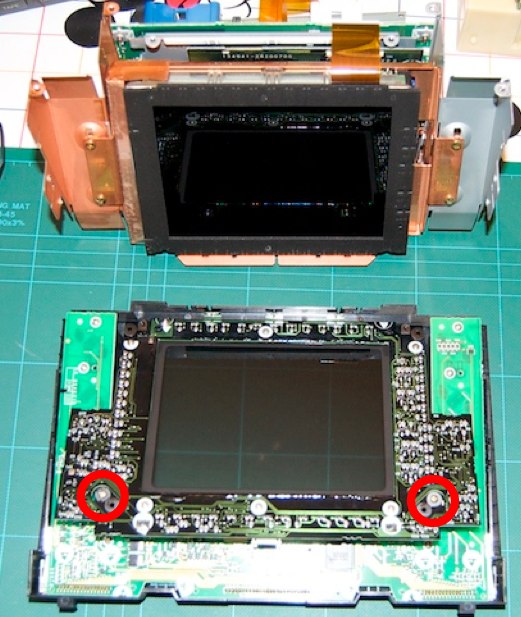
Next there are four 10mm hex bolts / philips screws to remove, and a plastic clip which is pretty hard to pry out. In the next photo the clip position is marked by the green circle (I’ve already pried it out) and the bottom two bolts are marked by the red circles. The following picture shows the top two bolts.
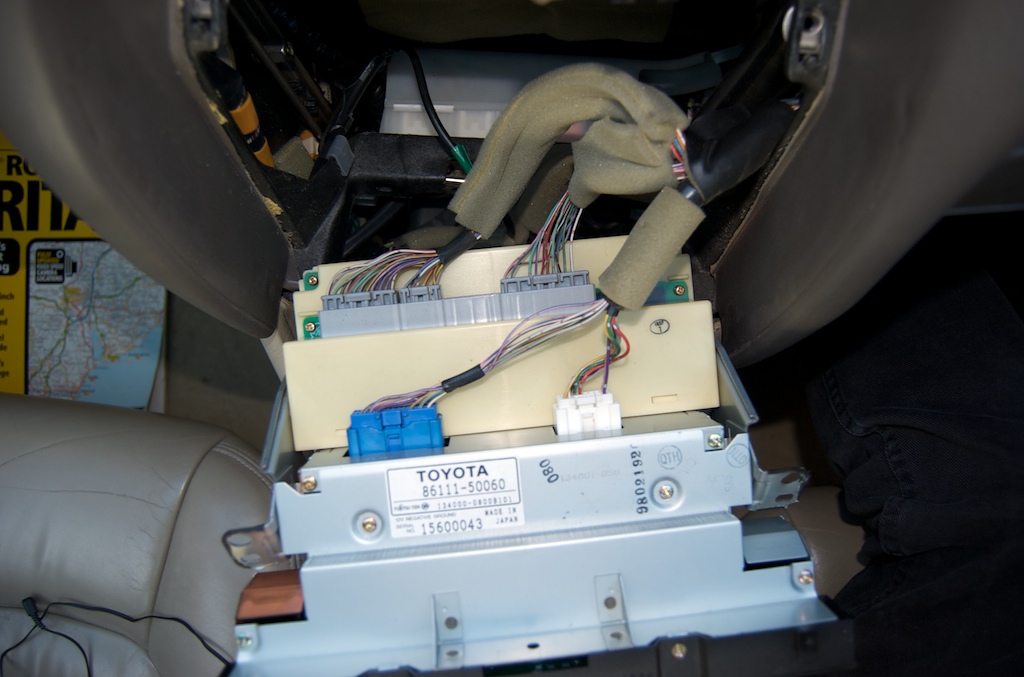
After removing the bolts, the whole centre console can be pulled forwards so you can disconnect the cables. They are in bunches, but there are two plugs at the top, three in the middle, and four at the bottom. Each one has a clip that you need to squeeze while you unplug it. All except the radio aerial cable, that just pulls out.
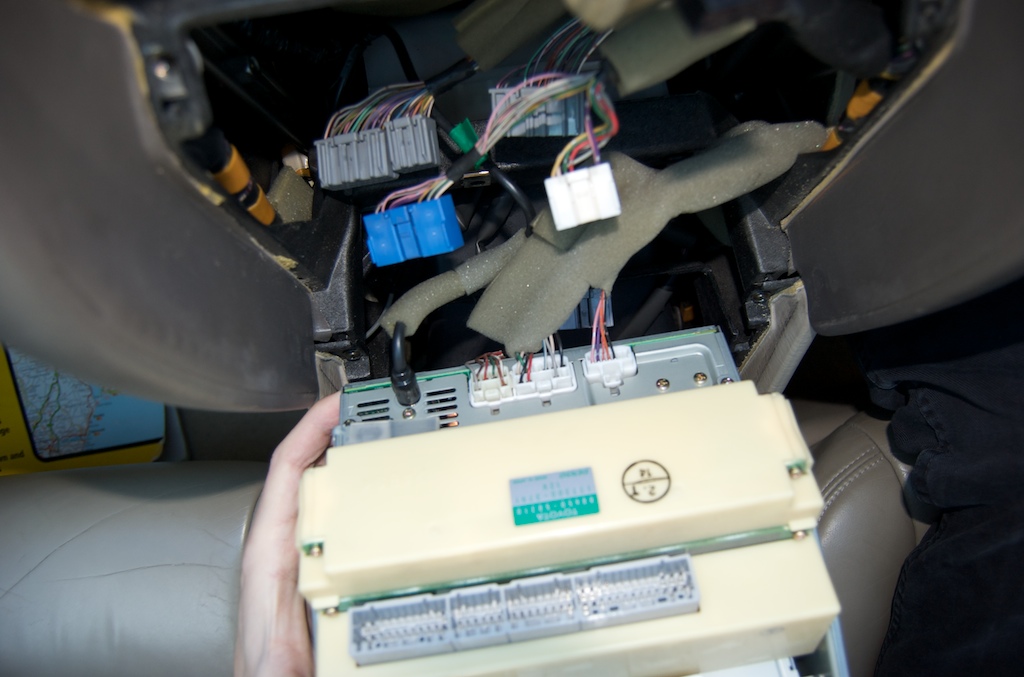
Once the console is removed, you can reconnect the car battery, lock the car, and retreat indoors with the console. It’s surprisingly heavy.
Apologies for the childish table protector in the following pictures!
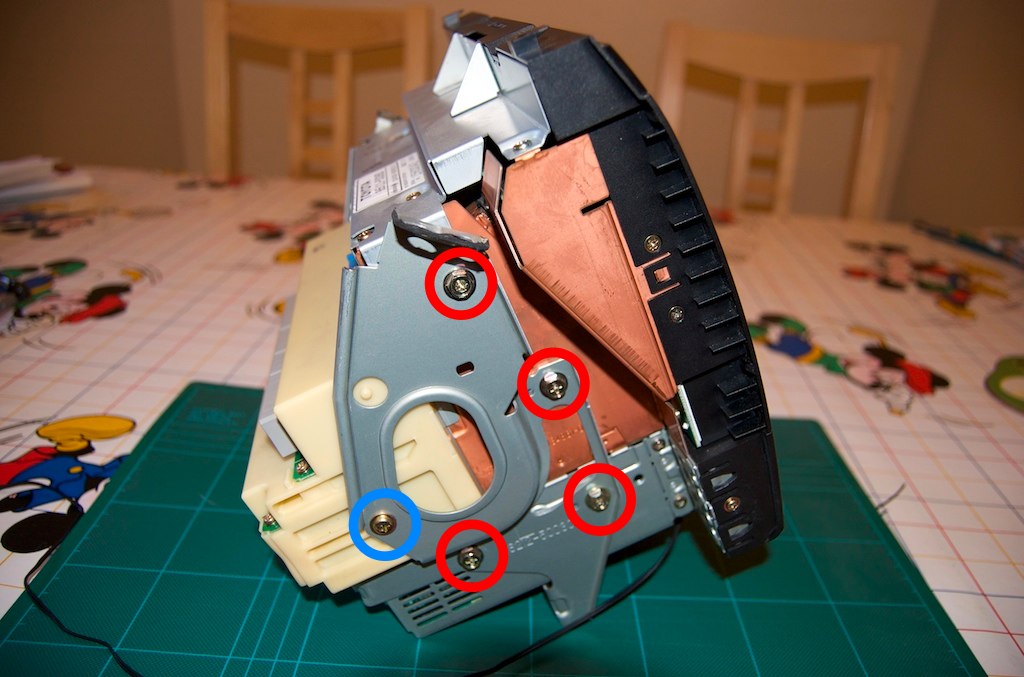
You need to remove the side brackets first. 4 8mm hex bolts (circled red) and one philips self-tapper (marked blue) on each side.
Once they are removed the console separates into three - the radio/cassette part, the main screen part, and a plastic lump off the back (I think that controls the air conditioning but I might be wrong).
Now remove the two countersunk philips screws from each side of the bezel.
Next you need to remove the top plate off the main section. Six pan head philips screws (red) and two more countersunk (green).
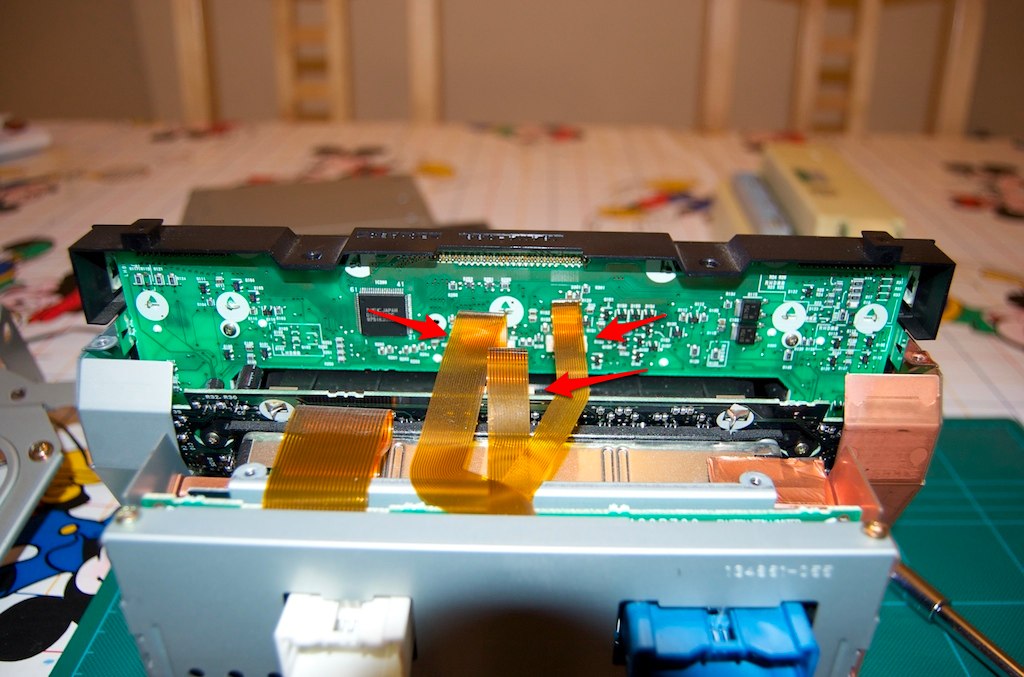
With the top panel out of the way, you can access the ribbon cables connecting the front panel. Each has a small PCB mounting socket. You need to pry up each side of the socket about 2-3mm to release the cable. After that they should unplug very easily. If there is any tension in them, you haven’t released the sockets properly.
With the ribbon cables unplugged, the front section can be removed. There are some plastic clips on each side and underneath. Pry those over the metal clips, then remove the front bezel.
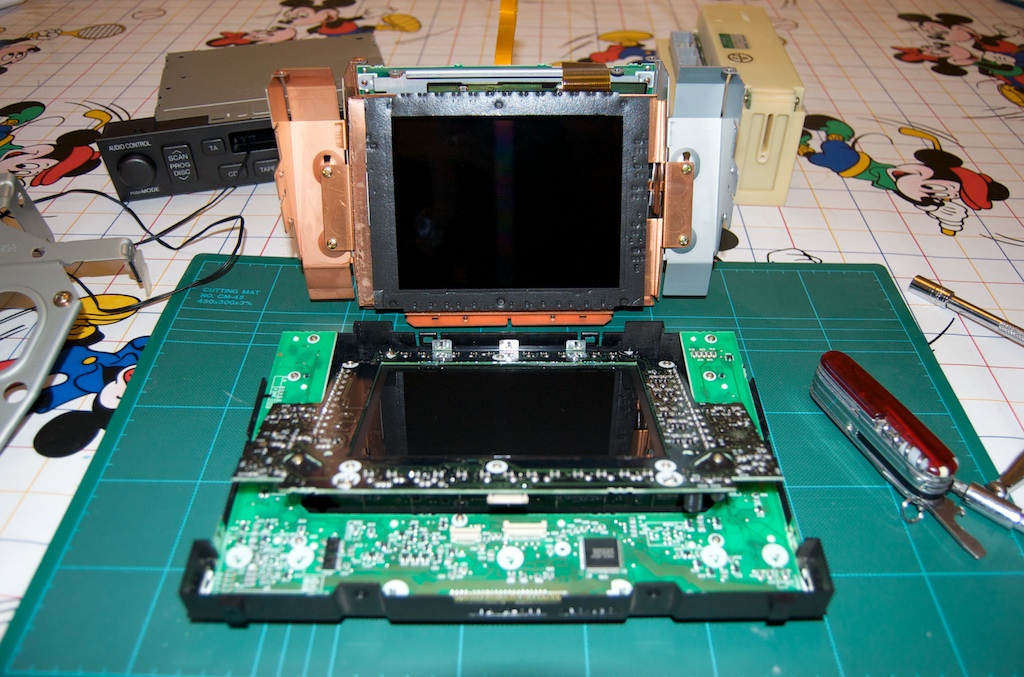
Now we need to remove the touchscreen assembly. This is held on by two small screws. Be careful unscrewing them, they screw into quite delicate long standoffs.
With those screws removed, the touchscreen just lifts out of the way.
The front panel PCB is held in by nine screws.

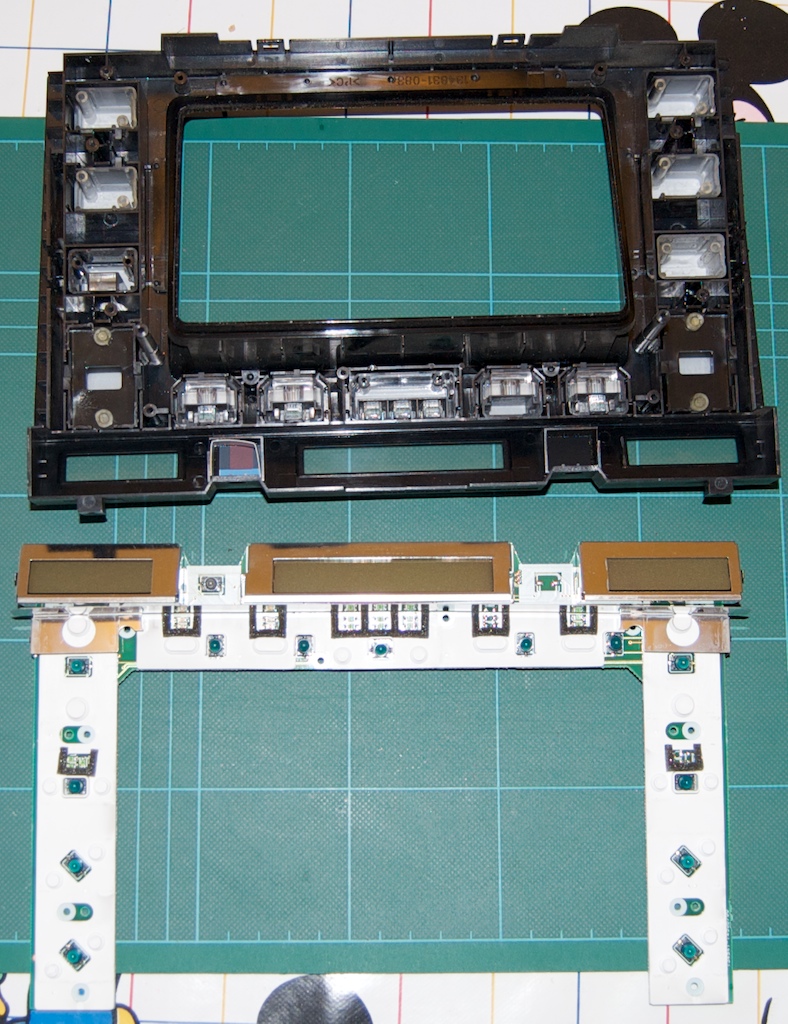
Flip the PCB away from the front panel. Now you can inspect the bulbs which you need to replace.
If you need to remove the metal shields covering the displays, there are metal tabs pushed through the PCB that you need to straighten with pliers.
The two blown bulbs in mine were the ones behind the temperature displays.
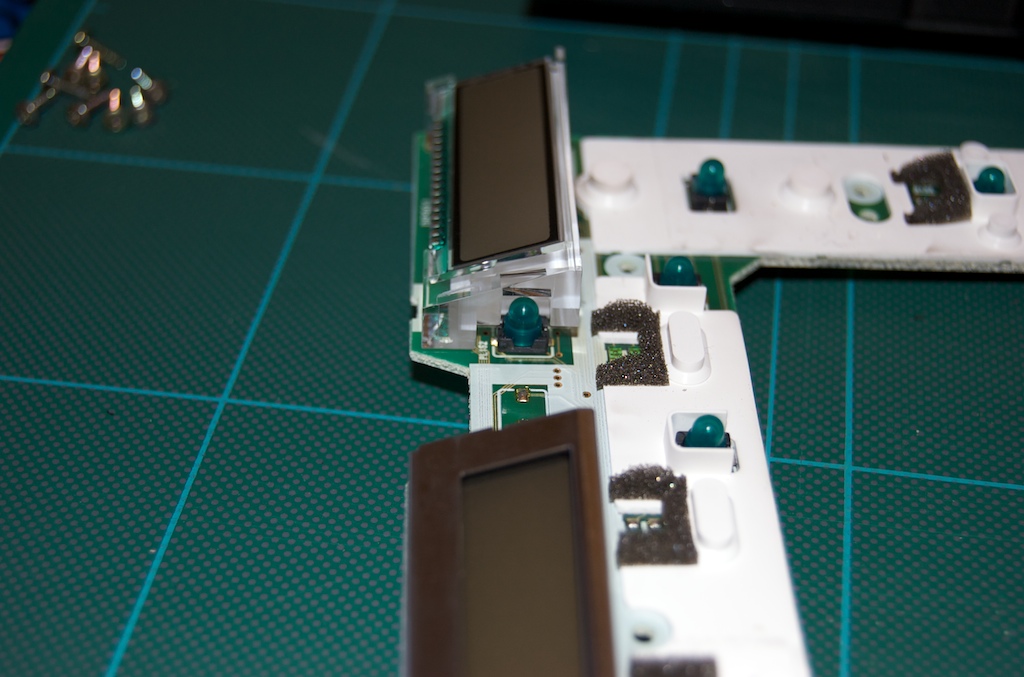
Because I didn’t have any suitable bulbs (I was expecting to find LEDs) I soldered a couple of wires in place of one of the bulbs, then reassembled everything and put the console back in the car. I measured 8.3v with the engine running and daytime illumination, and 5.3v with nighttime illumination. I’ve concluded that they are probably 12v “grain of wheat” bulbs. I’ve placed an order for some, and will conclude this article when they arrive.
I’ve been taking stuff apart since I was about 4 years old, so I’ve picked up a few tips over the years. You might think that it’s pretty easy to screw a screw back into the hole it came out of. What you need to be careful of with self tapping screws is that there’s nothing they’d like better than to cut a brand new thread when you screw them back in. This weakens the part. What you need to do instead is put the screw in the hole, then screw slowly anticlockwise while gently pushing down, until you feel the screw drop down into its original thread. Then screw it in clockwise as normal.