I started getting warning messages about the tail lights and sidelights, when there was nothing wrong with them. These are classic symptoms of dry joints in the mustard coloured relay.
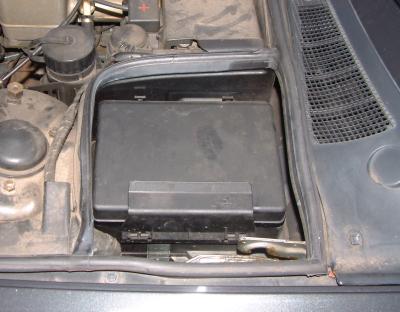
Step 1 open the fusebox - it is located near the windscreen on the left hand side of the car.
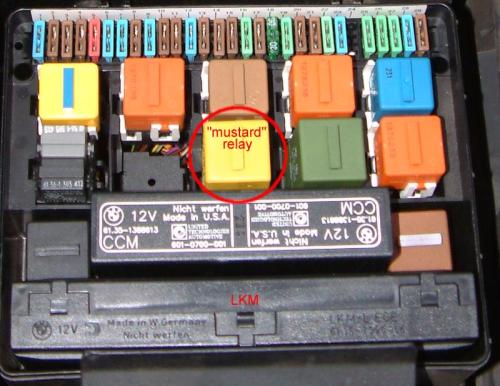
Step 2 locate the mustard coloured relay in the centre of the fusebox
and remove it
Step 3 ease open the three clips around the bottom of the relay and pull off the plastic lid
Step 4 examine the circuit board. You will no doubt find many bad solder joints. The easiest thing to do is resolder all of them. I used a 25 watt soldering iron, my 15 watt wasn't up to the job.
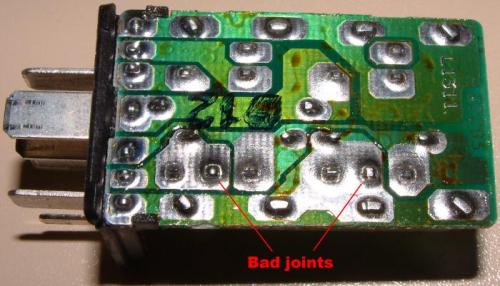
As you can see, most of my solder joints have gone bad. I've labeled a couple of them.
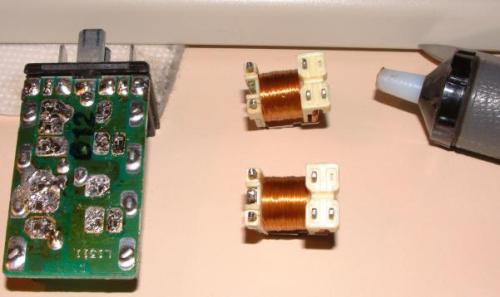
If you really want to do the job properly, desolder the relays first to remove all the old solder. This step is strictly optional!
Step 5 clip the relay back together and return it to the car.